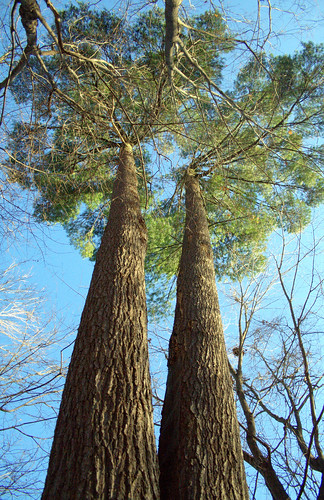
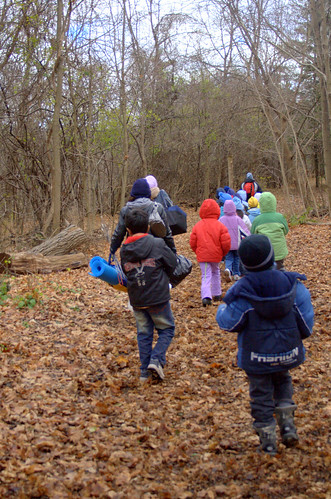
Last week I had the chance to take to the forest with a group of grade one students. We visited an outdoor education centre, where guides use the forest itself to provide opportunities for learning. It was wonderful to see the children out of the classroom and completely surrounded by nature, something these city kids don't get much chance to do. They looked, touched, listened, smelled, and even tasted what was around them. They tried new things, discovered new things, and gained so much out of the experience. So many channels for communication were opened.
My favourite points of our nature walk - watching the squirrels preparing for winter, talking about why alligators don't live in Toronto rivers (and having one of the children explain the difference between warm and cold blooded animals), listening to the rushing river water and racing sticks by the bridge, and feeling the wet leaves squish under our feet.
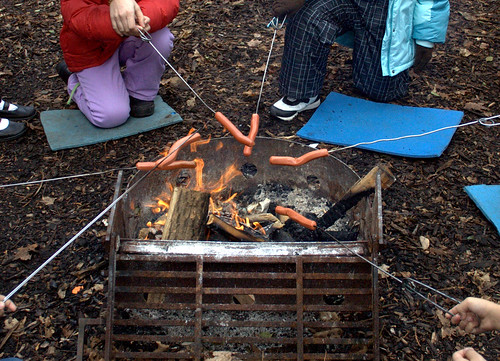
For lunch we had a cookout over a fire. Not the healthiest food, but a brand new experience for all of these children. Again, all their senses were at play. Seeing the flames, feeling the heat, hearing the crackling, smelling the burning wood and smoke (and having it sting our eyes when the wind blew it in our direction), and tasting the food we had cooked. Some children even conquered their fears as they were apprehensive about being near the fire, but decided to give it a try anyway. A chance to try something new!
 And a lesson in trial an error - cooking marshmallows in the flames burns them, cooking them over the coals turns them nice, toasty brown.
Once the fire was extinguished and the coals cooled down, we had a chance to try drawing with the charcoal. We talked about how charcoals for art are made, and made a plan to try them out in the classroom.
After lunch we talked about preserving the forests and what we can do to help. As it is an outdoor education centre, there are lots of people walking along the forest floor. To give back a little, we sowed woodchips on the high traffic areas. This helps avoid the wearing down of the path, and protects the animals and insects under the forest floor. The children were excited to help out, and had a chance to do some "hard work" outside by shoveling, carrying, and sowing the woodchips. They were rewarded with hot chocolate and a nature story, but I think best of all they felt as though they had given back to the forest that had given them so much that day.
These children gained more from visiting a forest than they ever could from filling out worksheets. I had a wonderful time too!

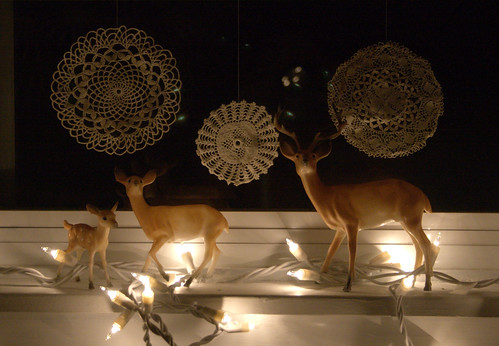
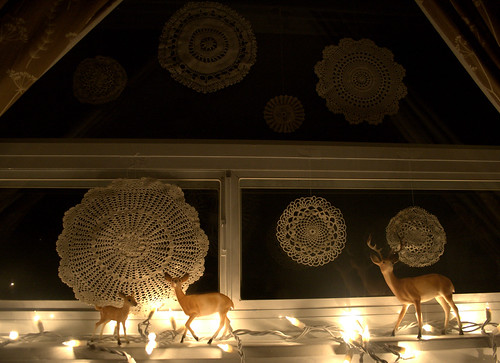
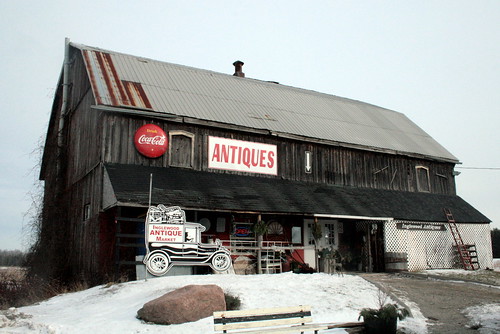 With the time off during the holidays, I have been able to take a couple trips to nearby Antique Markets. This is something I like to do with my mom since it gives us a chance to spend time together while seeing new and interesting things. I love shopping with her! She is like my goodluck charm as I always find things I had been hoping to come across when she's there.
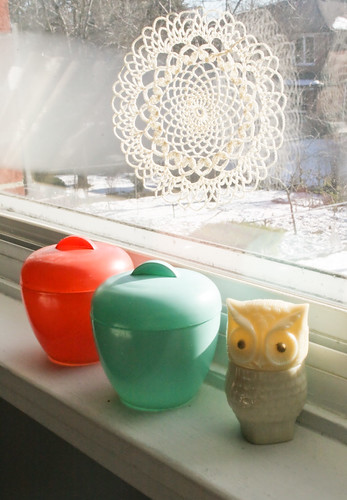 We came across most of the antique markets by accident, we were actually only sure that two of them existed. This time everything was new (to us) and it was wonderful to be able to search through all the treasures. We decided to take home some of our very favourite things (which was helped by the 10% off after Christmas sale at one of the markets).
 The markets themselves are interesting to see too. They're all so different. My favourites are the ones that go through room after room after room, where you can get lost in everything there is to look at.
 I am so grateful to have been able to visit these places, find new treasures, and spend time with my mom. It was nice to have the time to do this. Next week it's back to work and school!