
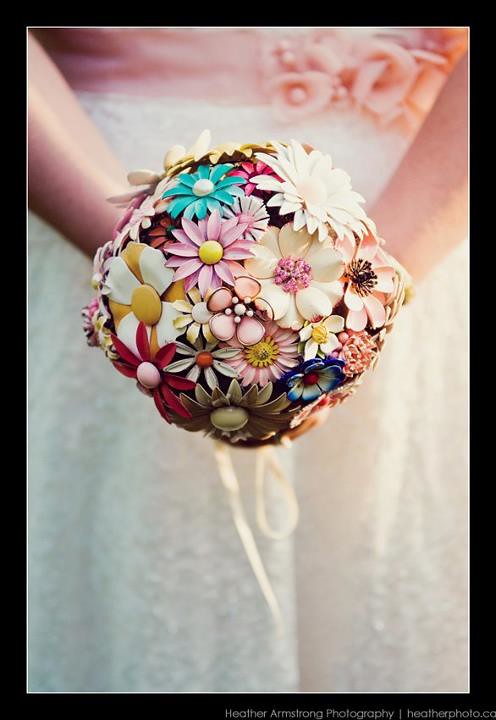
photo taken by Heather Armstrong of heatherphoto.ca
I had wanted to make an updated post to the tutorial I posted back in the Spring. I had been waiting for actual photos from our wedding to do that, so you could see the bouquet in use, and we got those this morning. So here it is in all its glory!
Making this bouquet really was a learning process. I was in love with the final result, with only one of the pins really bothering me. Here are some things I learned along (the rest of) the way:
*decide on the shape you like - I had put the entire bouquet together and then realized I really did not like the full ball shape, but rather a dome. It wasn't too hard to take apart, but it would have been easier to saw the bottom off the foam ball before finishing up. A good way to decide on shape is to google enamel brooch bouquets (or search pinterest) and see what you like.
*order one of these, or cut your handle to the proper length before attaching it. You want it to have just enough room for your hands to wrap around it comfortably. Again, it can be fixed later, but it's easier to not have to.
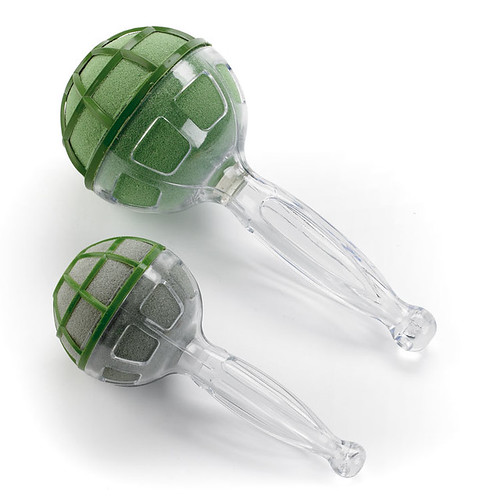
*try to choose flowers with petals that are close together or overlapping. Flowers with petals that are spaced out will show your foam ball underneath.
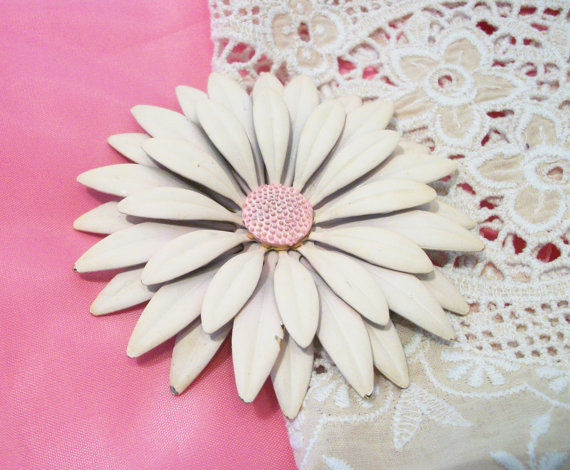
*if you want that nice round shape, make sure all the petals on your pins flare towards your body when you're wearing the pin, like this..
rather than away from your body, like this..
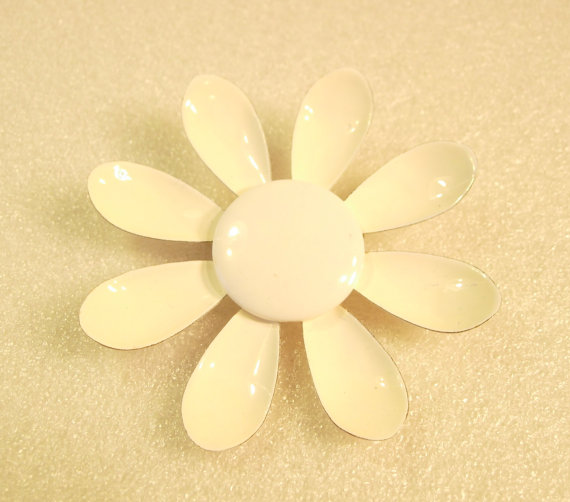
You can see one pin sticking out on my bouquet for this reason and it did drive my perfectionist tendencies a little crazy. Along these lines, I bring you my next tip:
*If it doesn't work or you don't love it, lose it! I had a few pins I thought I just had to have on my bouquet, but I couldn't make them work. Don't force it because you spent money and time finding it. You can always re-sell it or use it in another way, and you want to end up with something you love.
*Layer, layer, layer! I didn't cover my foam ball in any fabric or paint. I just used smaller, flatter flowers and ones I didn't mind being less prominent to be layered over. This added dimension and filled in areas. Earrings are great for layering and filling in small spaces between the larger flowers. I really like the full look, so this worked well for me.

photo taken by Heather Armstrong of heatherphoto.ca
*attaching your fabric to the bottom of your foam ball before attaching your pins would be a smart move. I had a lot burns on my fingers from trying to fit the hot glued fabric underneath the bottom pins. My fabric doesn't look perfect, but I like the loose pieces rather than having it all tight.
*take your time with the ribbon wrapping and save the hot glueing until you've wrapped and re-wrapped and are sure you like the way it looks. It took me quite a few tries to get it looking decent. The fabric from above made the ribbon buldge out a bit. Don't stress though, your hands will mostly be covering it.
*If you add a contrasting ribbon like I did, do yourself a favour and hot glue it. Mine un-tied itself a few times during the ceremony. Oops!
*I think this last one goes without saying, but if you're going to do a bouquet toss, use one of your bridesmaids' bouquets. You don't want any concussions!

photo taken by Heather Armstrong of heatherphoto.ca
Mostly, just have fun with it. Make it unique and make it you. Try things out and if they don't work, try again. It is a lot of work to make one of these bouquets, but the result is definitely worth it!
No comments:
Post a Comment