Friday, August 3, 2012

Weekly Favourites..


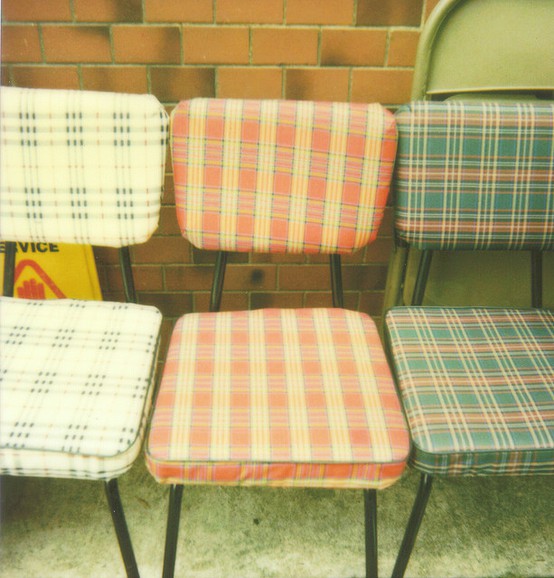
1. quirky vintage plaid kitchen chairs.


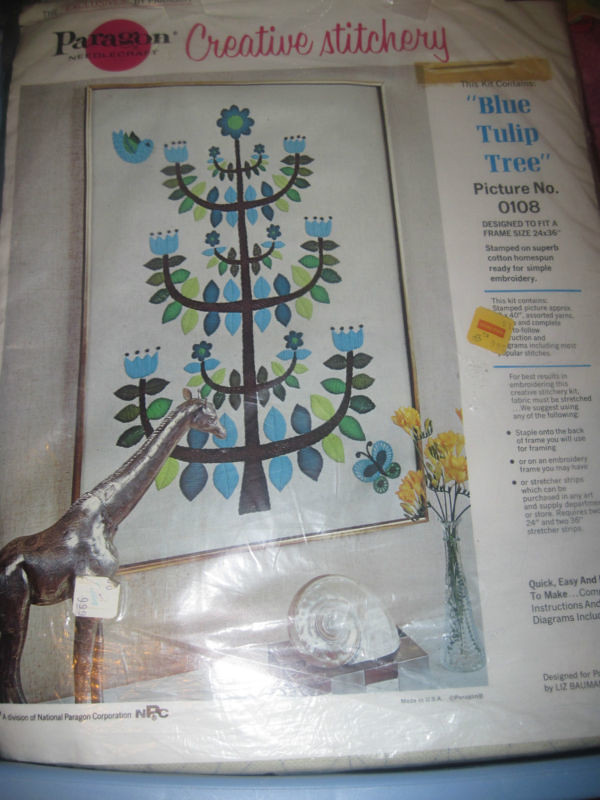
2. a new adventure in crewel work


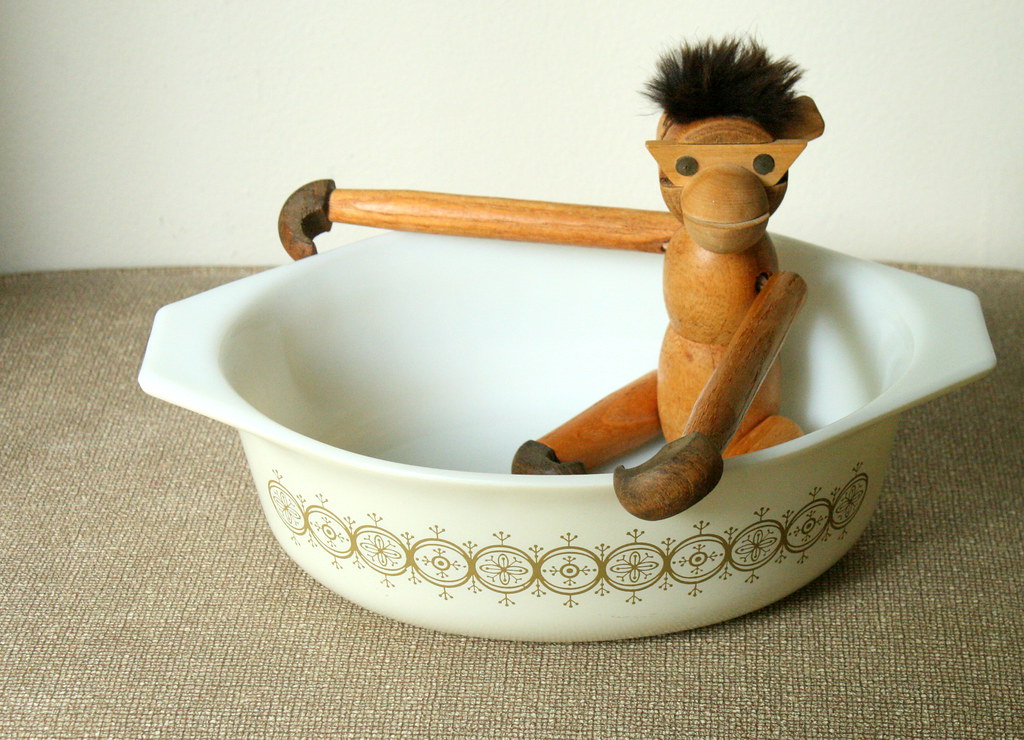
3. finding out about Pyrex I didn't know existed! Round pink daisy casserole? Oh, yes!


4. I think I'm on a Pyrex kick this week.


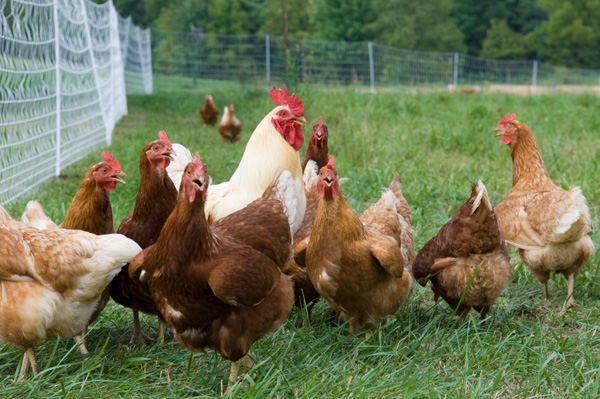
5. Chickens!! One day I will have some of these lovely girls roaming around.


6. Farmer's Markets. This week I picked up the most delicious tomatoes, and banana strawberry flavoured jam. Who knew that such a thing as banana jam existed?


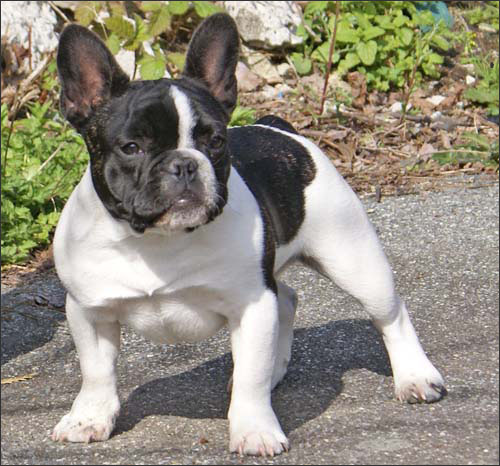
7. French Bulldogs! I had always thought we would get a large dog (a chocolate lab or some sort of mix) when/if we ever got another, but lately I have been loving on these adorable little dudes. I think Lola would love a brother, the husband not so much.


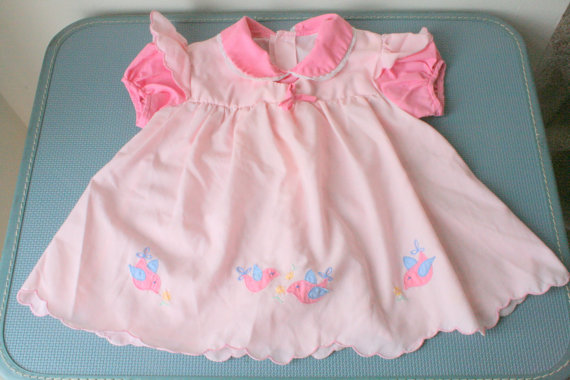
8. frilly vintage baby dresses. They are just too sweet.


9. Narwhal fabric! NARWHAL fabric! Need I say more?


10. Homemade smoothie pops on a hot day. Delish!


sources: 1. myao; 2. ebay; 3. odditease; 4. violets and grace; 5. keeping chickens; 6. toronto loft blog; 7. dog and collar; 8. me; 9. Sarah Jane Studios; 10. me

Thursday, August 2, 2012

Thrifting


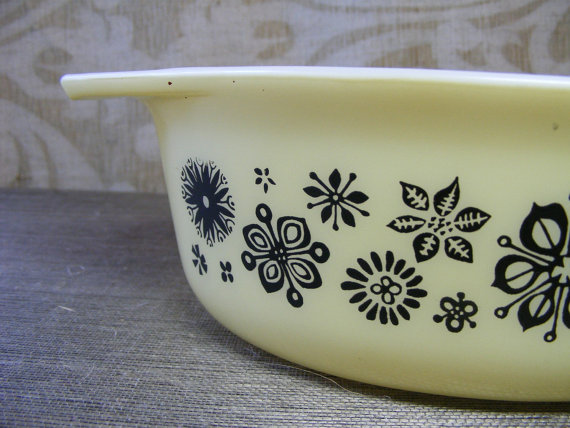
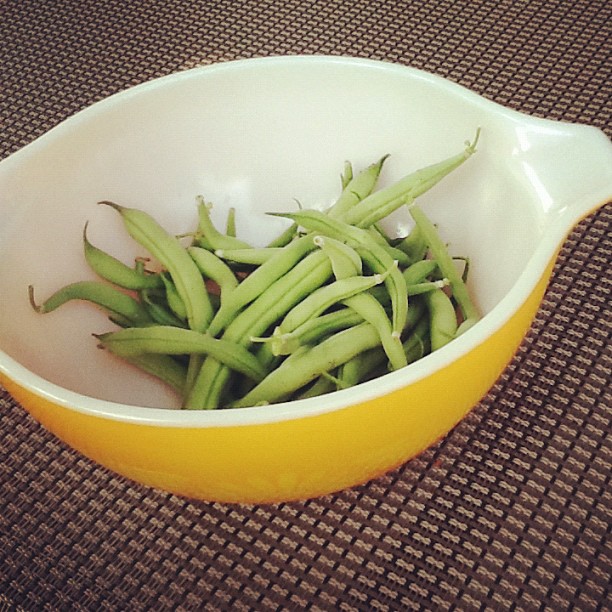
I do love me some new (to me) Pyrex! Flickr tells me that this pattern is called Olive Medallion and was a promotional piece frpm 1964. I've been discovering all these patterns that I never knew existed. While it has been a lot of fun, it has also made me think about that ever growing collection of mine. Thankfully, the local Pyrex ladies and I are planning on renting a booth at a local Sunday Antique Market to tone down a bit of our collections. Those trade nights are fun, but we all end up coming home with new pieces instead of less pieces. Right now we have over 130 pieces in our spread sheet. Even if we don't sell much, it will be a good time. Once we secure the date and which market we're going with, I'll make sure to advertise in case any locals are interested.


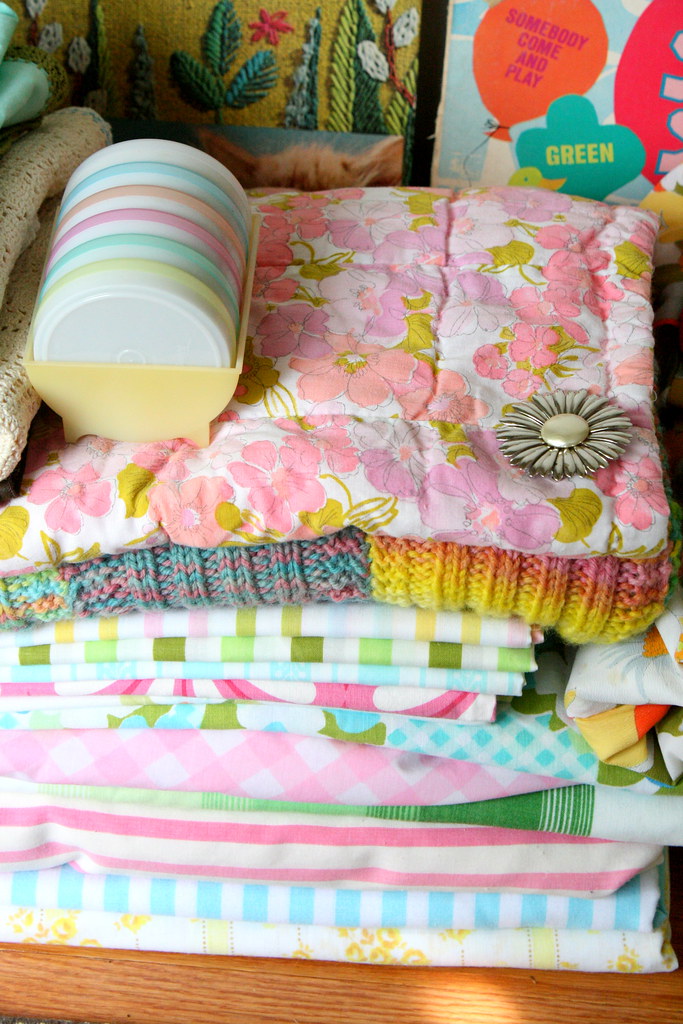
I had an amazing thrifting date with my mom the other day. Lots of vintage sheets, frilly baby dresses, a little Fisher Price, and some sweet records. We dropped off three huge bags of our own donations before heading in, so I haven't felt too bad about bringing so much home lately.


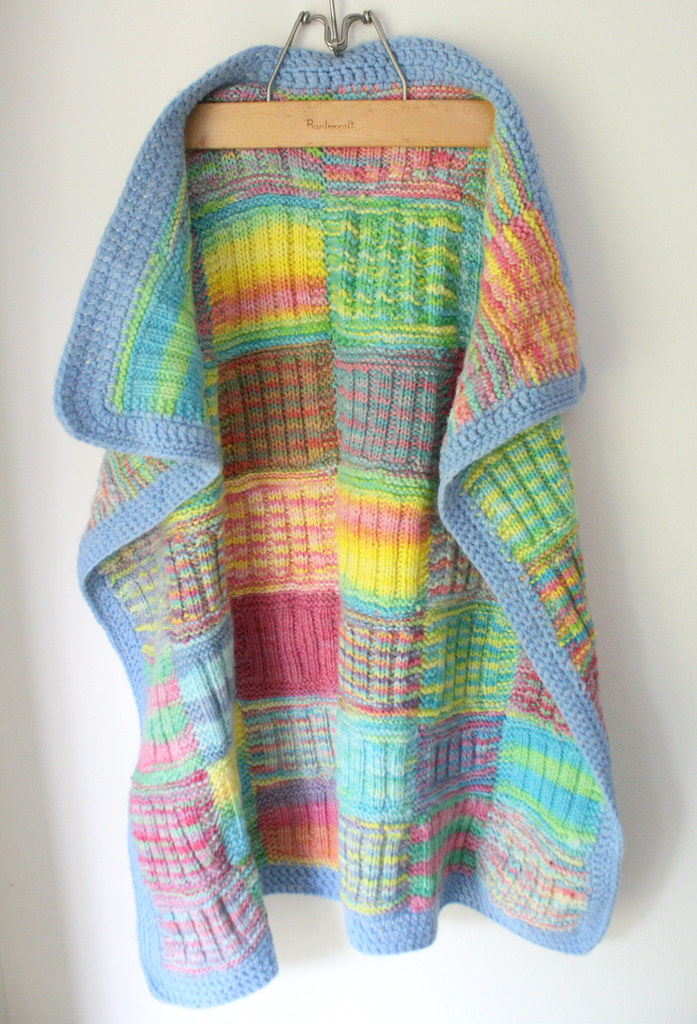
Something interesting is that lately I've found a few finds actually made from vintage sheets. First there were the two aprons, and now this baby quilt. This one is hand quilted and has a solid pink back. I adore it. I'm thinking I'm going to have to start a vintage sheet sewing project soon. I also adore this knit patchwork blanket made with a variety of varigated yarn. It has never been used, which makes me think it was a baby gift that the recipient didn't use. The maker can rest assured that this will be used and it will be loved!


Check out Lolie Jane Vintage for some new goodies. There have been quite a few shop updates lately.


Wednesday, August 1, 2012

The Blue Tulip Tree


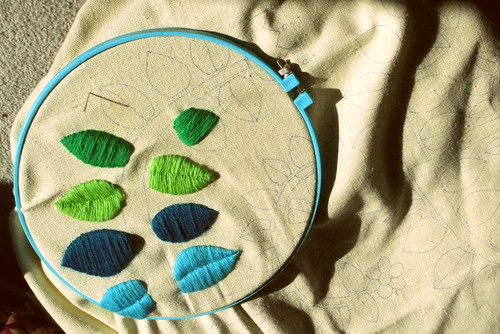
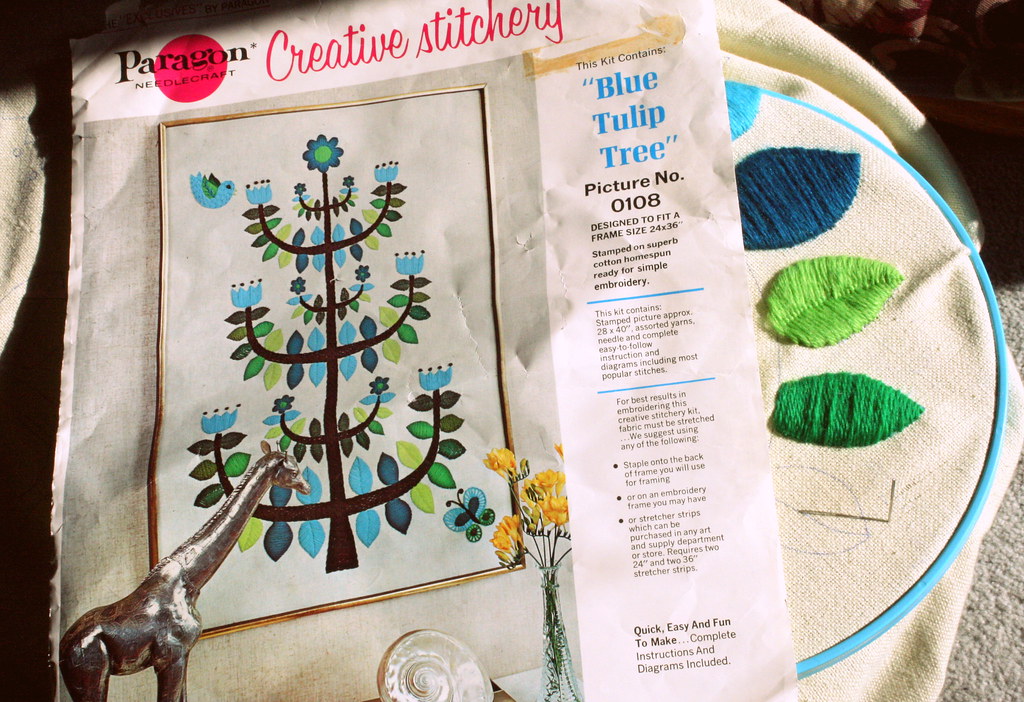
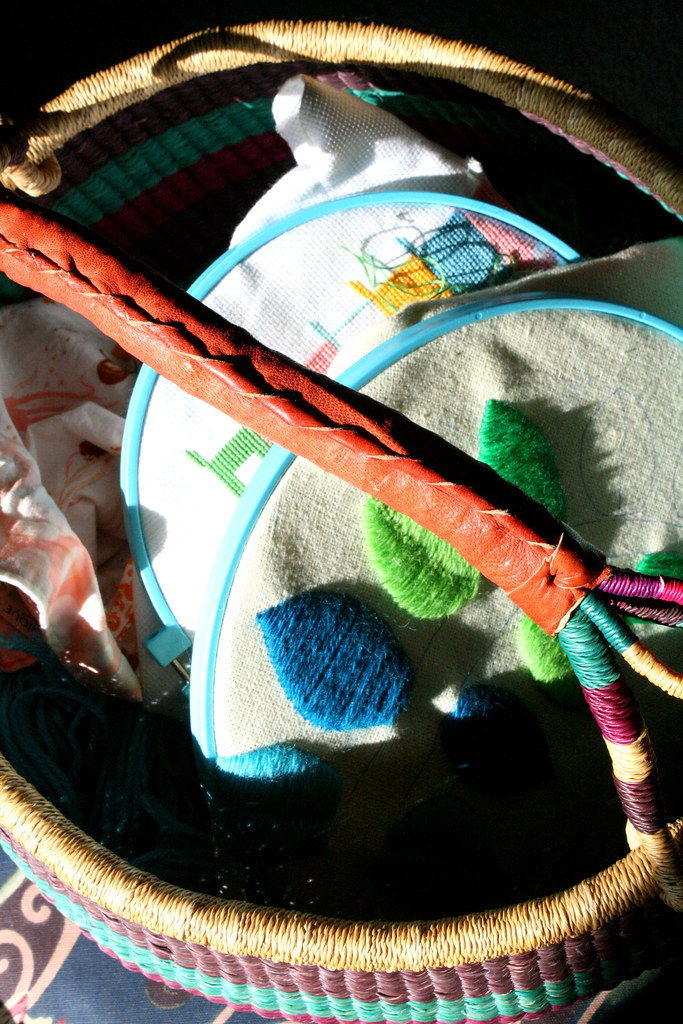
Several years ago I came across a picture of a crewel work wall hanging and I fell in love. I had no idea what it was called, but I started my search. A while back a flickr friend found a kit and made one of her own, and she let me know that it was called the "Blue Tulip Tree" by Paragon. She also started searching for another for me. I put in an automatic search on ebay, and last week it paid off. Up popped this gorgeous kit for less than $20 on 'buy it now', and the seller was willing to ship to Canada!


I've never done crewel work before, but hopefully it will turn out okay. There are instructions on the back, youtube videos of stitches for support, and a flickr friend with a few helpful tips!


As if I really needed another project to add to the basket right now, but I think this one will be well worth it.

Tuesday, July 31, 2012

Enamel Brooch Bouquet Re-visited


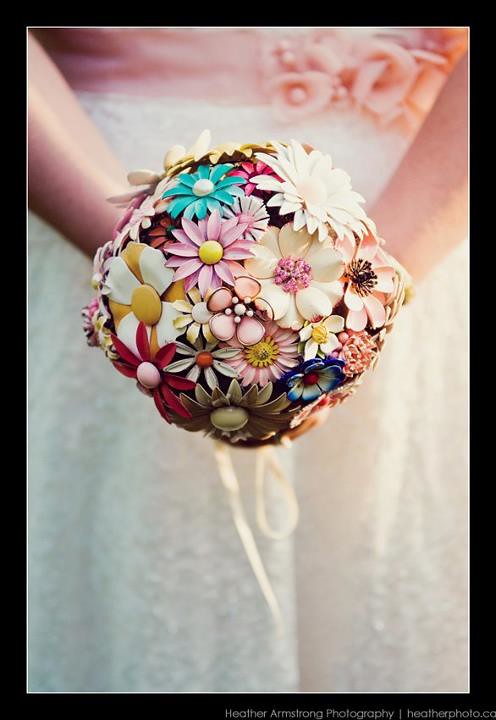
photo taken by Heather Armstrong of heatherphoto.ca


I had wanted to make an updated post to the tutorial I posted back in the Spring. I had been waiting for actual photos from our wedding to do that, so you could see the bouquet in use, and we got those this morning. So here it is in all its glory!


Making this bouquet really was a learning process. I was in love with the final result, with only one of the pins really bothering me. Here are some things I learned along (the rest of) the way:

*decide on the shape you like - I had put the entire bouquet together and then realized I really did not like the full ball shape, but rather a dome. It wasn't too hard to take apart, but it would have been easier to saw the bottom off the foam ball before finishing up. A good way to decide on shape is to google enamel brooch bouquets (or search pinterest) and see what you like.

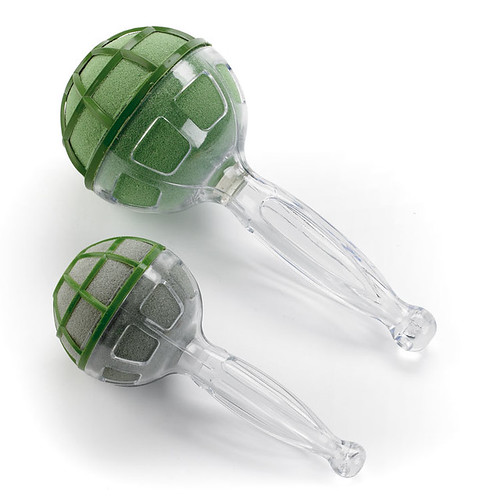
*order one of these, or cut your handle to the proper length before attaching it. You want it to have just enough room for your hands to wrap around it comfortably. Again, it can be fixed later, but it's easier to not have to.

*try to choose flowers with petals that are close together or overlapping. Flowers with petals that are spaced out will show your foam ball underneath.

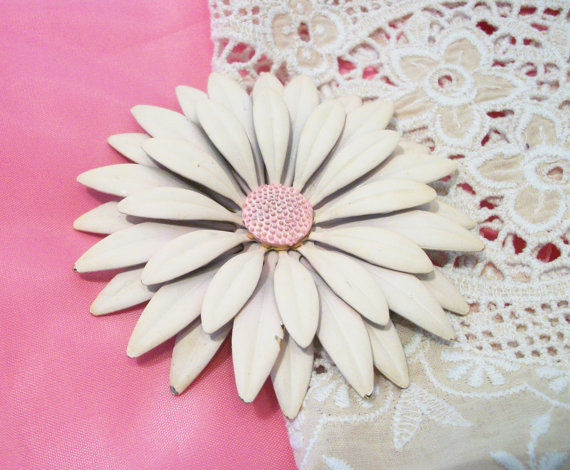
*if you want that nice round shape, make sure all the petals on your pins flare towards your body when you're wearing the pin, like this..


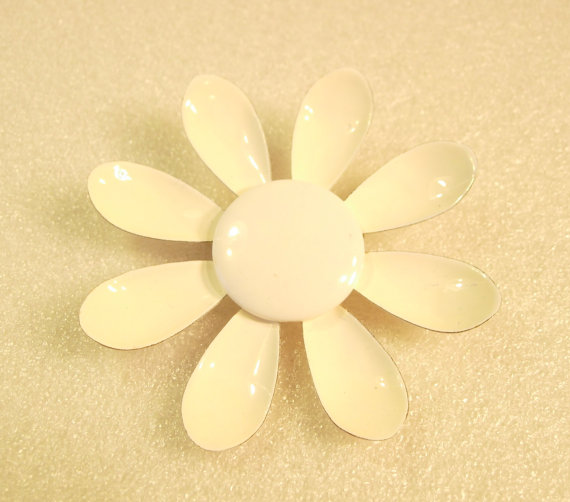
rather than away from your body, like this..


You can see one pin sticking out on my bouquet for this reason and it did drive my perfectionist tendencies a little crazy. Along these lines, I bring you my next tip:

*If it doesn't work or you don't love it, lose it! I had a few pins I thought I just had to have on my bouquet, but I couldn't make them work. Don't force it because you spent money and time finding it. You can always re-sell it or use it in another way, and you want to end up with something you love.

*Layer, layer, layer! I didn't cover my foam ball in any fabric or paint. I just used smaller, flatter flowers and ones I didn't mind being less prominent to be layered over. This added dimension and filled in areas. Earrings are great for layering and filling in small spaces between the larger flowers. I really like the full look, so this worked well for me.


photo taken by Heather Armstrong of heatherphoto.ca

*attaching your fabric to the bottom of your foam ball before attaching your pins would be a smart move. I had a lot burns on my fingers from trying to fit the hot glued fabric underneath the bottom pins. My fabric doesn't look perfect, but I like the loose pieces rather than having it all tight.

*take your time with the ribbon wrapping and save the hot glueing until you've wrapped and re-wrapped and are sure you like the way it looks. It took me quite a few tries to get it looking decent. The fabric from above made the ribbon buldge out a bit. Don't stress though, your hands will mostly be covering it.


*If you add a contrasting ribbon like I did, do yourself a favour and hot glue it. Mine un-tied itself a few times during the ceremony. Oops!

*I think this last one goes without saying, but if you're going to do a bouquet toss, use one of your bridesmaids' bouquets. You don't want any concussions!


photo taken by Heather Armstrong of heatherphoto.ca

Mostly, just have fun with it. Make it unique and make it you. Try things out and if they don't work, try again. It is a lot of work to make one of these bouquets, but the result is definitely worth it!

Friday, July 27, 2012

Photobooths and a Shop Update


photo taken by Heather Armstrong of heatherphoto.ca

Our wonderful photographer sent us the Crazy Booth photos from our wedding, and they are so much fun! We loved having a photobooth since it provided our guests some more entertainment, and it gave us a better chance at capturing more of our guests in pictures...doing funny things. If you want to see some of the results, I've made a post up on our wedding blog.

I've been having some not so fun side effects from our current IUI cycle (which sadly caused me to miss out on a local Pyrex meet-up), so I've been trying to take it pretty easy. Getting those pictures really helped cheer me up. I wanted to keep busy, so this morning I photographed several vintage finds and got a lot of them up in my shop.


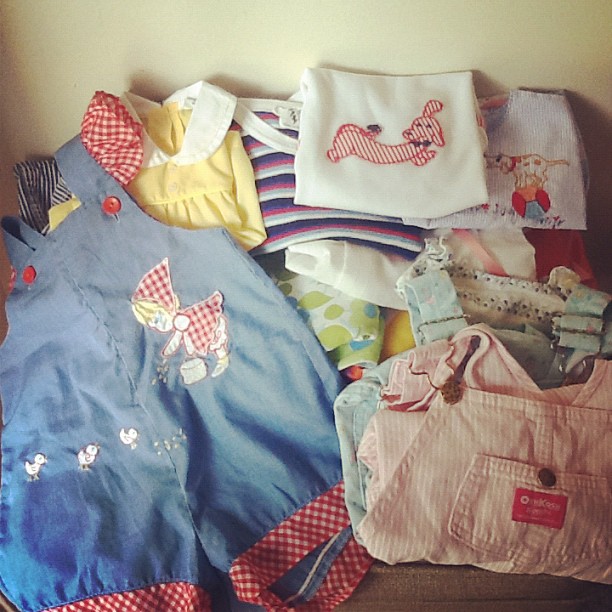
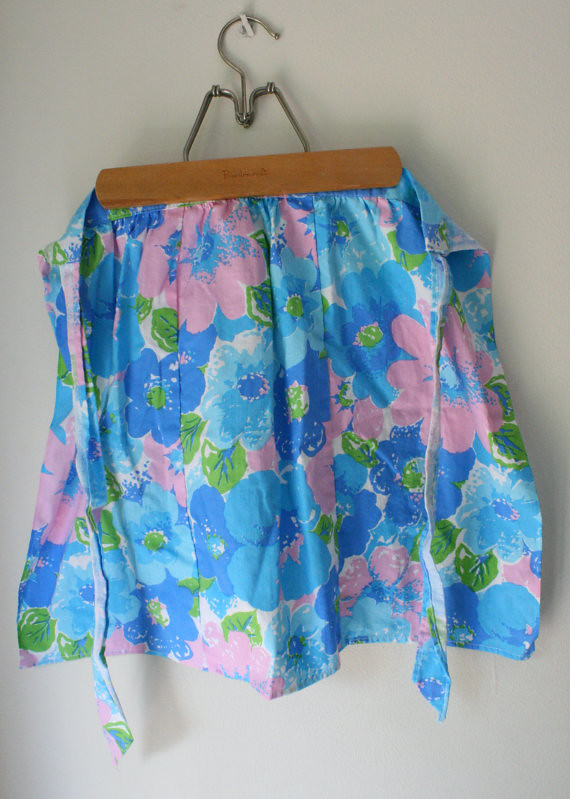
That blue romper with the gingham details has to be my favourite of the lot. It's one that will probably stay with me, just in case. Aside from the romper, there were some really great finds. I was pleasantly surprised when I found two aprons made out of vintage sheets.


How neat is that? I even have the sheets that match the aprons.

Tonight I am heading back over to Jer's parents' house where Jer and I are house sitting while they're away in Nova Scotia. We are going to make burritos and take advantage of our last night of access to his dad's incredible record collection. I'm not going to lie, there will probably be some dancing around on my part!
Have you scored any great thrift finds lately? Tell me about them!
Monday, July 23, 2012

Summer & Sewing


The weather cooled down a bit over the end of last week, so Jer and I spent as much time outside as we could. We went to our local park to swing, and to the dog park with Lola, we played baseball, rode bikes, and went for walks, and it just brought our stress levels right down. I haven't been feeling great because of the fertility medication, so it was nice to get out and re-charge.

The heat picked right back up in time for my babysitting date with Emma and Lizzie. We spent a few hours running around outside and splashing in the mini pool while their mama and pops were at a party. Before they left, I got to spend a bit of time with Janet, which is always great. How gorgeous is this lady?


I need to make sure to capture more moments like these because it reminds me that summer really isn't so bad.


Not being able to resist those 1/2 metres of fabric for under $2.50, I grabbed my mom and went to another fabric store location. I picked up a few more prints (including some Alexander Henry and Urban Garden) and some stretch fabric. I've never sewn with knits before, so this should be a fun experiment!


One of the ladies working at the store showed us some great fabric, almost like a microfibre, that all the employees swear by for cleaning. You just wet it and it does better than any cleaners do on glass and smooth surfaces. It's normally $20 a metre, but since it was half off we bought enough to cut into six cloths. Our windows and mirrors have never been so clean! I absolutely hate window sprays (even natural ones), so this makes me so much happier about cleaning. I'll have to do updates on how the cloths hold up. Unfortunately, I forgot to include them in the photo.

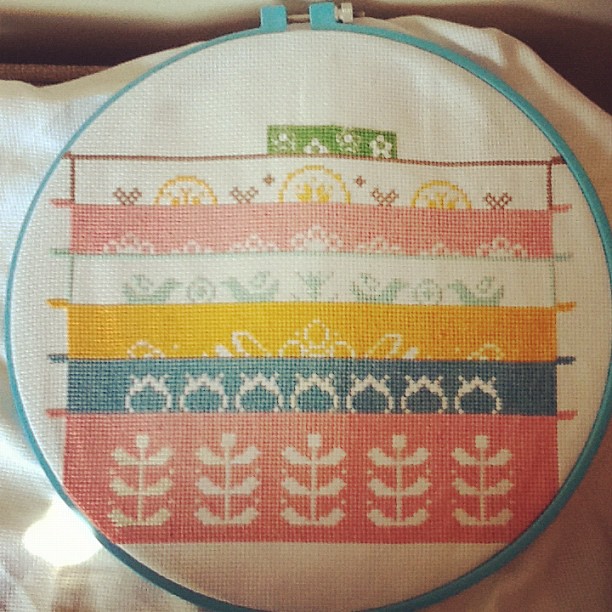
And of course, an update on the Pyrex Cross-Stitch..


It's getting there!

Thursday, July 19, 2012

Storing and Gardening

My mom used to be an avid cross stitcher and there is evidence all over her house to prove it. When I was little my room was filled with cross stitched Disney characters, our bathroom had a huge cross stitch of the three men in the tub poem, and even my dad had cross stitch pictures on his desk at work. My favourites were the set she made for the kitchen..dishes, containers, spices, and pies.

I remember she had a big blue binder filled with pages and pages of little plastic slots filled with embroidery floss cards, each one numbered and ordered. She had every colour you could imagine. When I was 6 or 7 she would let my cousin and I invade her stash to make hundreds and hundreds of friendship bracelets. Aside from swimming and hiking, this was our favourite thing to do at the cottage in the summer. We were constantly walking around with a half finished bracelet safety pinned to the hem of our shorts, which I imagine looked quite funny. This didn't stop until I was 12 or so (after I had made a three inch wide rainbow bracelet that took nearly an entire summer) and most of her stash had dwindled down. She stopped stitching, so she wasn't building it back up.

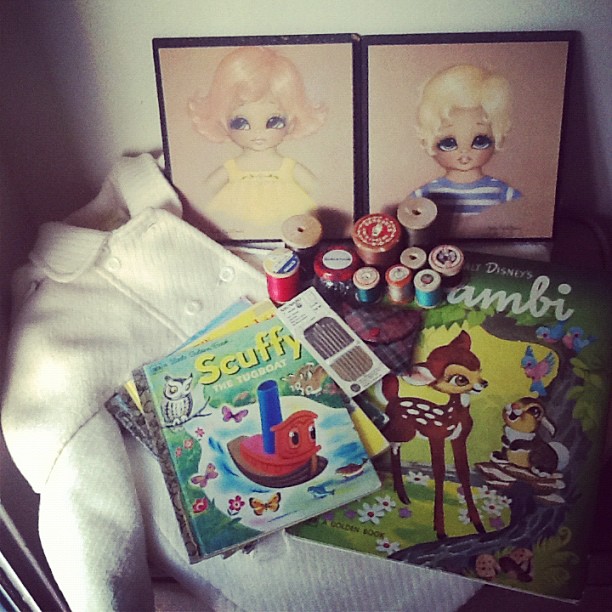
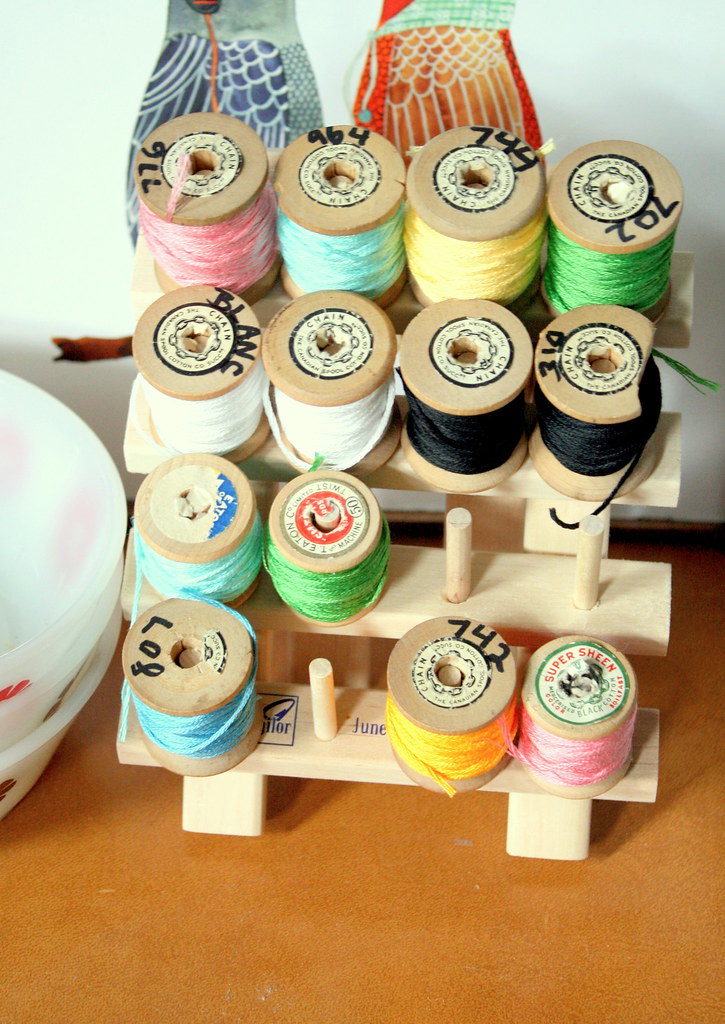
The big blue binder is long gone, but I wanted to find a more organized way of storing my embroidery floss since I've started cross stitching more and more and my stash is building up. I couldn't find any floss cards or binder pages, so until I do I decided on this much more space consuming (but cute and fun) storage..


I'm not sure I will ever run out of those old wooden thread spools, but they have ended up being so useful.

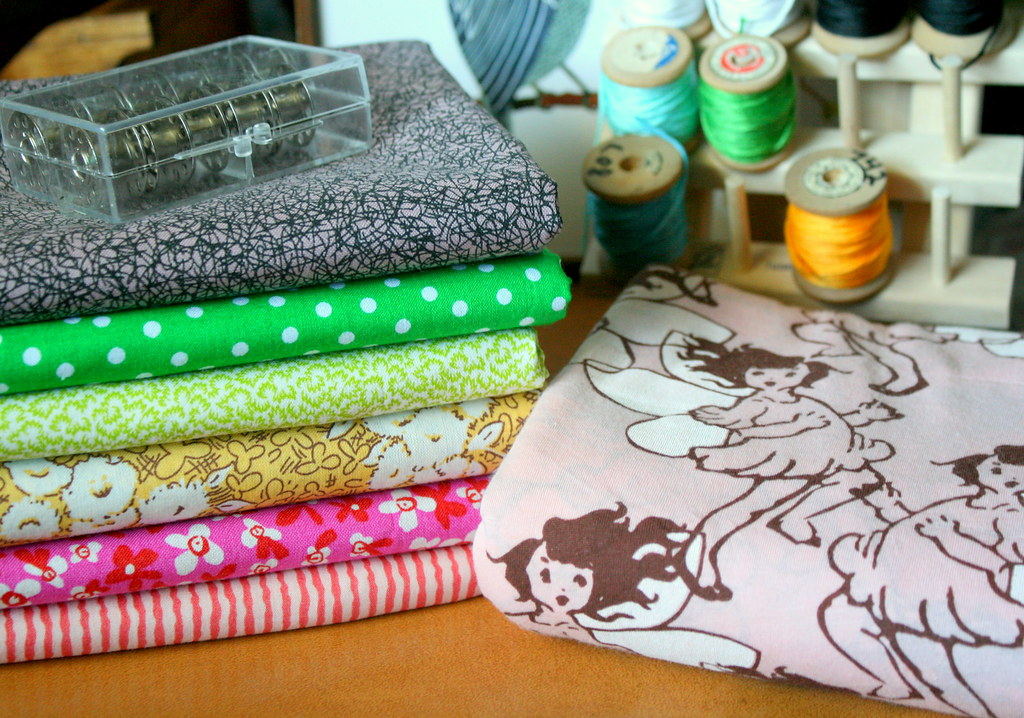
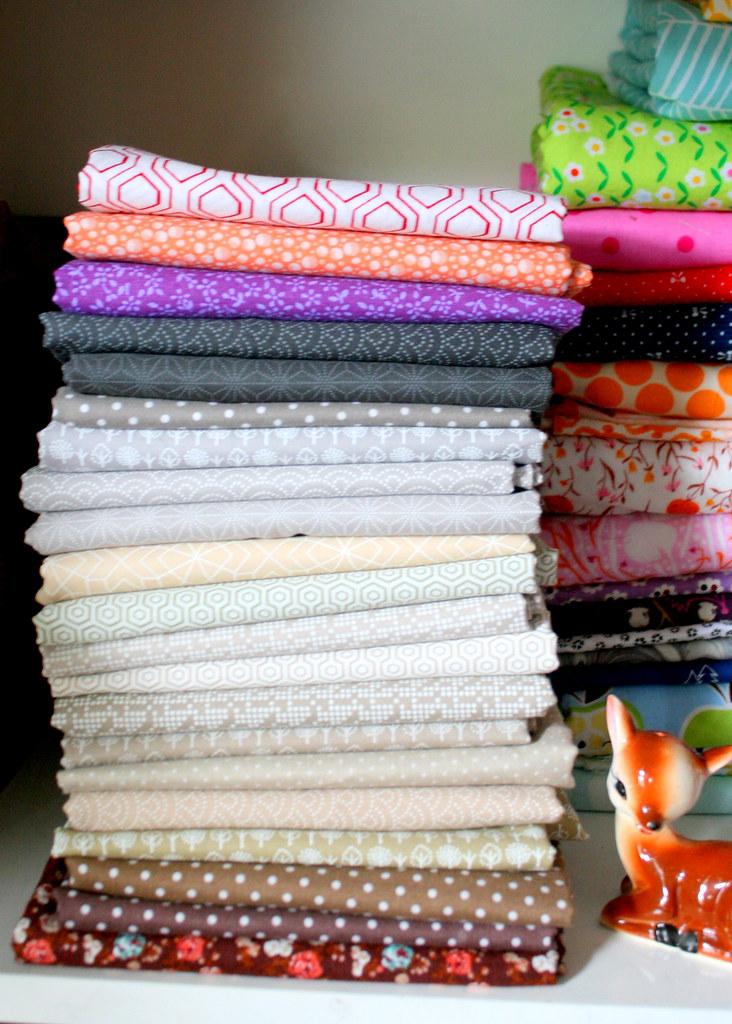
Speaking of stashes, my local fabric store was having a 50% off sale, so I made my way over to see what I could find. There wasn't a lot I liked in terms of colours, but the neturals were great. I did allow myself one floral print just because I loved it so much, but I passed up all of my usual picks in favour of the more neutral options. I picked up a huge pile of half metres (oh, Canada) for less than $2.50 a piece. The best part is I am already mixing and matching just from my stash and am coming up with so many more project ideas.


I haven't mentioned the garden in a while so I thought I would post a little update. The heat has finally broken and I'm hoping that makes a difference to my unhappy little veggie garden. While the tomatoes are happy as can be, my cucumber is wilting, the peas are turning yellow, the beans are not growing as well as usual, and of course the zucchini are only flowering and not actually growing (which I'm thinking may have something to do with our soil since this has happened for the past three years). I'm thinking of picking up a bag of soil and trying to do a couple plants in planters to see what happens.


Hopefully your gardens have been surviving the heat!