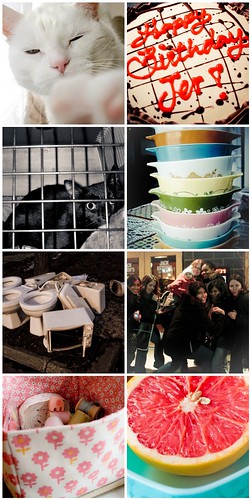
A while ago we cleared out the Tupperware drawer and started using glass for food storage instead. We find that it's not only safer, but it lasts a lot longer. My vintage Pyrex collection was put to use, especially the refrigerator dishes. They're cute, fun, and great for storage!
In a few months time I'll be living in Peterborough during the week, and I began thinking about food transport since I will often be bringing up leftovers with me. I didn't want to turn back to the Tupperware, but the lids on my fridgies only sit on top. There is nothing to secure them. I decided to sew up some velcro straps to hold them together during transport to avoid food spilling out.
 Of course, this only works with solid food. Soups and liquids will still leak out the sides. For those I use mason jars or a thrifted ceramic lunch container with a silicone lid. I've tried some of those glass tupperware containers with the plastic lids, but I've found that most leak too.
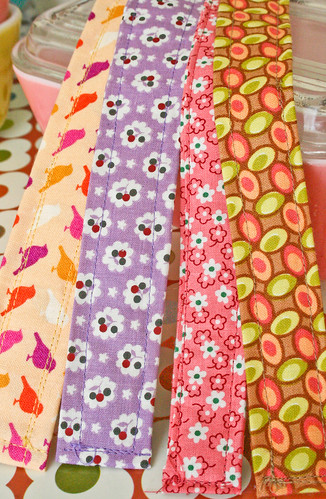
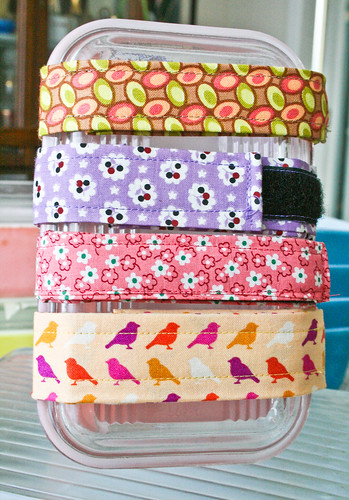
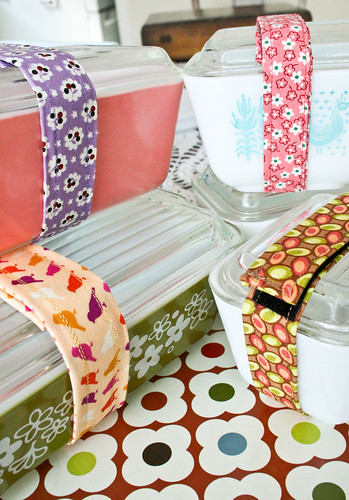 The straps were very quick and easy to make. I sewed up the straps just like I'd sew up a purse strap, and then sewed a strip of velcro on each end. The straps for the small and medium fridgies are 18 inches long, with almost 5 inches overlap. The strap for the larger fridgie is 24 inches long with about 5 inches overlap. I used 4 inches of velcro on each strap to ensure a good hold, but less length and velcro could be used. This is a great project for using up those fabric scraps. I ended up with a collection of fabric strips and edges left over from old projects, so I dug into that for this one.
 What would be even cuter - vintage fabrics that coordinate with the dishes. I'm picturing one of my flickr friend's vintage fabric collection for this. Amazing.
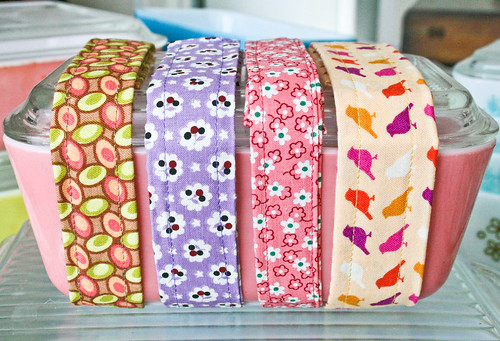 My mom asked why I didn't just use an elastic band to hold the lids on. I guess I could have done that, but this is a lot more fun!