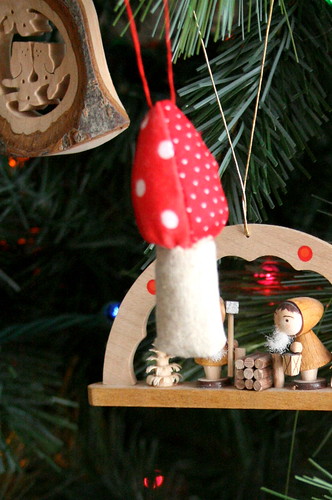
A few years back I made these walnut shell ornaments. I made a couple more this year and thought I would post a little tutorial.

You can really use any type of fabric for this. Even felt would work as long as it`s not to thick. I used cross stitch canvas just for the sake of convenience when stitching, as well as some linen fabric.
What you'll need:
-half of an empty walnut shell
-fabric (you'll want a piece that is quite a bit larger than the shell)
-a small bit of batting or wool roving (about twice the size of a cotton ball)
-a small bit of batting or wool roving (about twice the size of a cotton ball)
-hot glue gun
-string or decorative trim for hanging
-embroidery floss, seed beads, and/or anything you'd like for embellishment
*Christmas movie and mug of hot chocolate are optional, but highly recommended!

I started off by cross stitching a little gnome. If you're doing the same, you're going to want to make sure your design is smaller than the walnut shell. I really like Japanese cross stitching books for this - many have a variety of really cute, tiny motifs. That's where I found the squirrel, acorn, and hedgie.
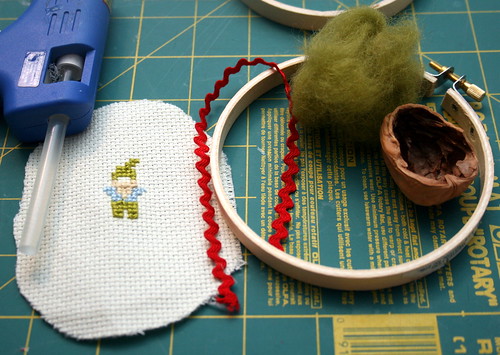
1. Cut around your design (or cut your fabric) leaving a lot of room around the edges. You're going to stuff the fabric and tuck it into the walnut shell, so you'll need a lot of excess. You can add embellishments now, or you can wait until the end.
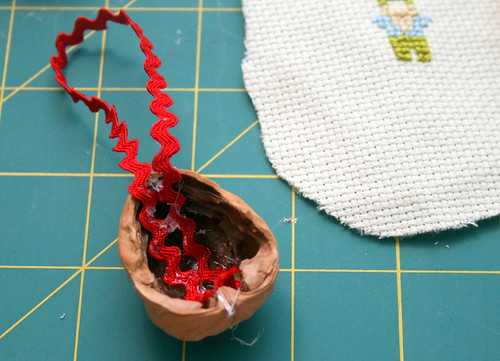
2. Fold your string or trim in half and secure it to the inside of the walnut shell using your glue gun. Watch your fingers! I always manage to burn myself.
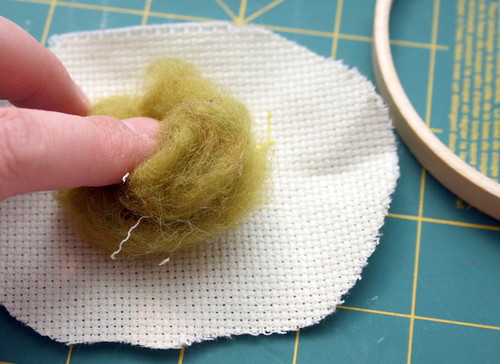
3. Roll your batting or roving between your hands to form a ball. Put it in the middle of the wrong side of your fabric and wrap the sides around it. You may want to make a small snip in each 'corner' to avoid a lot of awkward folds that form with heavier fabric. You'll have to play with it a bit to get it to look the way you want it to.
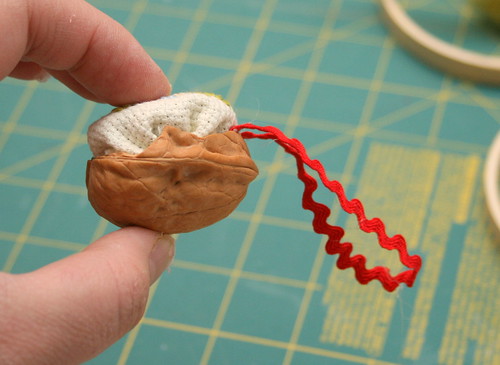
4. Put a little more hot glue inside your walnut shell, and stuff your fabric ball inside, making sure to tuck in all edges. You're going to have to play with it again to get it to look the way you want it to. If you don`t want it to pop out as much, just use less stuffing.

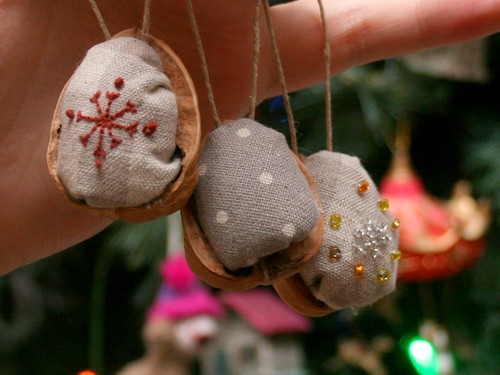
6. Add any embellishments you`d like, and enjoy!












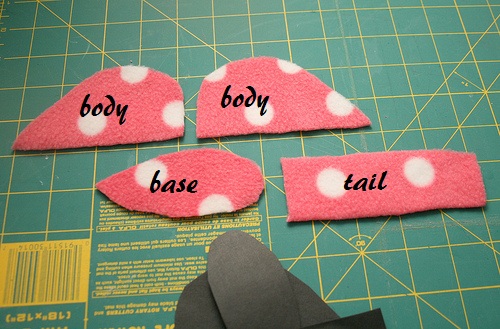

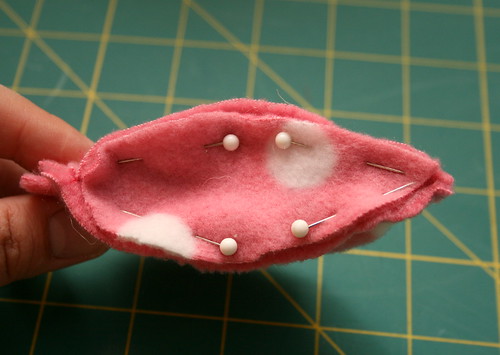


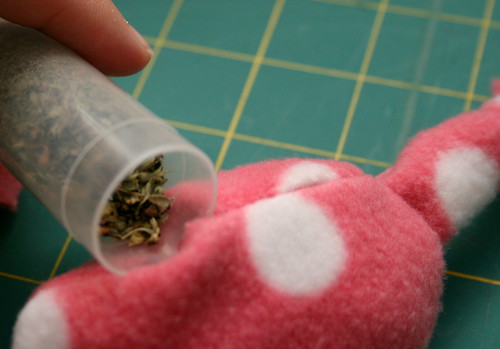
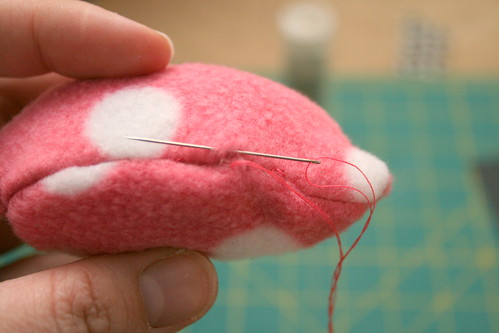


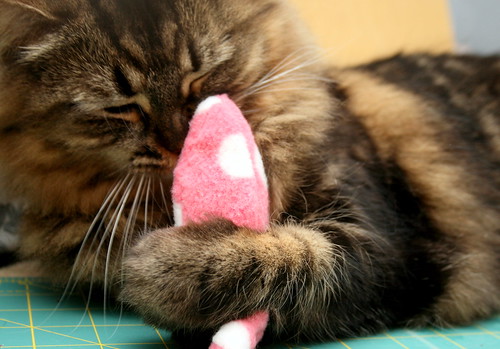

 1. Cut out four tear drop shapes. These are going to be the cap of your mushroom. If you want a taller, thinner cap cut the pieces narrower and longer. These pieces I have here make more of a round cap. The size you make will depend on how big you want your finished mushroom. Each of my tear drops is about 1.5 inches wide and three inches high. The finished mushroom, including the stem, is four inches.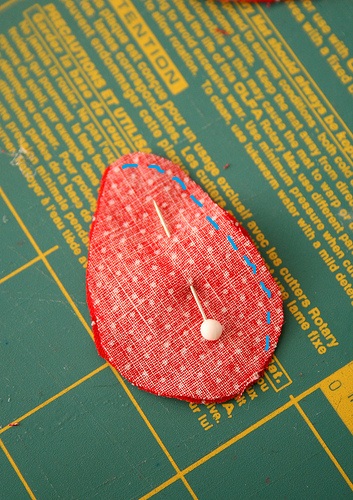


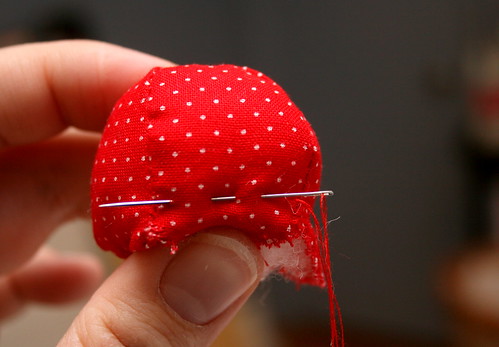
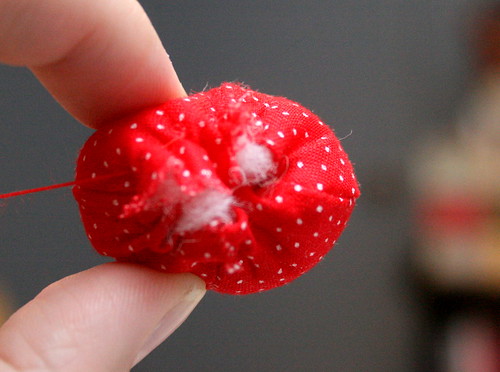


 8. Place your stem on the bottom of your mushroom cap, over the little knob you made (if you did make one). You're going to sew the cap and the stem together using a hidden stitch. To make sure it stays in the right place, you may want to make one stitch holding the stem to the cap on each side before you sew all the way around.
 Hopefully my terrible paint drawing helps illustrate the stitch you'll use. The black is the stitching you're going to do. Red is the mushroom cap, beige is the stem. You're going to pull the stitches tight though.
  9. Once you tie off, sew a bit of thread through the top of your mushroom cap to hang your ornament from the tree. And you're done!